🎻 Mastering Harmonics: Ray Chen’s Essential Tips
Harmonics are beautiful—but are tricky and can be prone to squeaking or not speaking properly. Learn how to produce them with clarity, precision, and confidence.
In this guide, I break down the essentials of mastering both Natural and Artificial Harmonics, so you can be confident when playing those beautiful and delicate moments in your pieces.
Step 0: Preparing Your Bow
Before diving into harmonics, start with something basic but often overlooked: make sure your bow is well-rosined.
Without enough grip, your bow will slip—and harmonics simply won’t speak.
Also, here’s a tip many players overlook:
You don’t need to use the full bow. I usually stick to the middle section, which offers more control and helps shape a clearer, more focused tone.
✨ Why this matters:
Harmonics require a light touch and precise bow control.
The danger? When you miss, you don’t just sound off—you sound way off. That’s why every detail matters, starting with your bow.
Without proper rosin, your bow will slip. No grip means no sound.
Think of your bow like an ice skate—you want it sharp and smooth, slicing just enough into the top layer of “ice” (the string) to glide effortlessly across the surface. Well-rosined bow hair is like perfectly sharpened skates: clean, controlled, and ready to sing.
Step 1: How to Approach the String
Unlike regular détaché, where you start on the string, harmonics sound best when you glide in, like an airplane landing.
🎯 How to Practice:
Try to begin with your bow slightly above the string and moving at a steady speed, think of it as if the string is already vibrating before your bow even makes contact. Then gently approach the string near the bridge (but not too close), and use the natural weight of the bow—pressing too hard will kill the harmonic sound.
✨ Why this works: This method allows the bow to string to resonate freely, producing a clearer, bell-like harmonic that’s both smooth and vibrant.
Step 2: Mastering Natural Harmonics
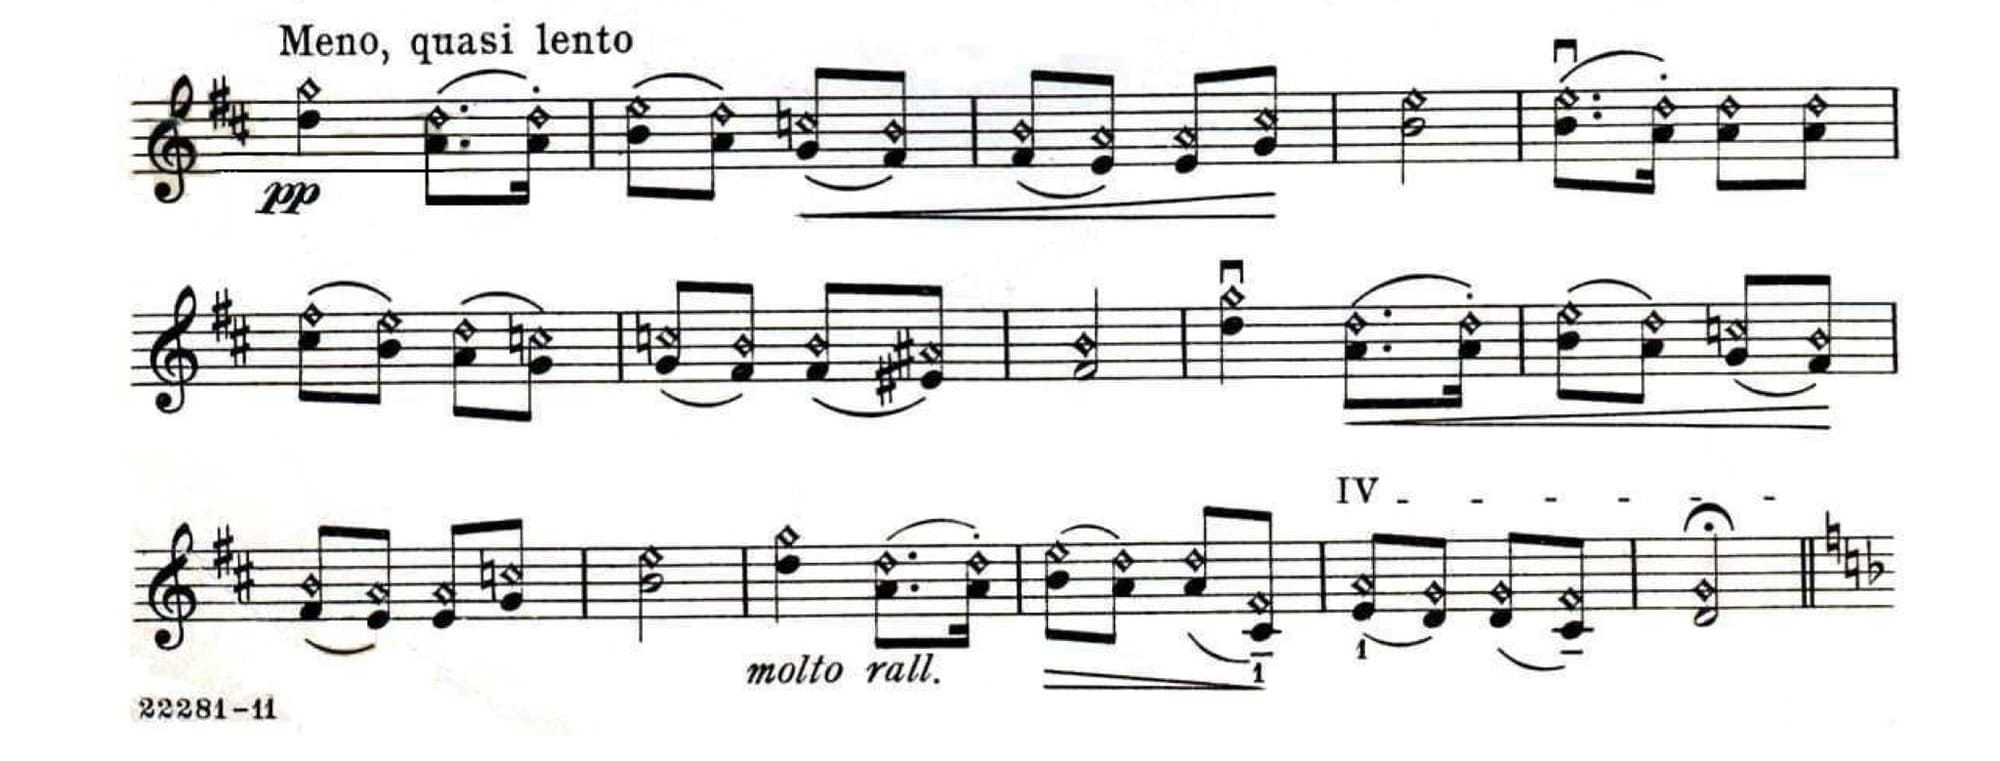
Natural harmonics are relatively easy to play and are often used as a color effect in musical passages. They can add charm to the music and sometimes create a sense of dazzling virtuosity.
🎯 How to Practice:
- Start with the most stable one: the octave harmonic—located at the halfway point of the string.
- Gently place your finger where the note should be—lightly, without pressing the string to the fingerboard.
- Let the string vibrate on both sides of your finger. Once you feel that balance, you’re ready for more.
Other go-to natural harmonics to try:
- A 5th above the open string (4th finger, 1st position)
- A 4th above the open string (3rd finger, 1st position)
And if you’re feeling adventurous, there are plenty of higher harmonics waiting to be explored!
💡 Pro Tips:
- When you want to end a harmonic note, make sure to lift both your left hand and right hand at the same time. Doing so will get you an extra resonant ring.
- Avoid releasing your left hand too early—doing so can cut the sound off abruptly and make the ending feel awkward or incomplete.
⏰ Practice Duration:
Spend about 5–10 minutes practicing natural harmonics on all four strings. Consistency is key—repeat it daily for the best results, and the best place to do that is on Tonic!
- Join live practice sessions with musicians from around the world and experience how others practice.
- Track your progress and get real-time feedback.
- Participate in community challenges and events to stay motivated and earn rewards.
🌐 Download Tonic and let’s perfect those shimmering harmonics together. Your next breakthrough is just a session away!

Step 3: Conquering Artificial Harmonics
Artificial harmonics are more challenging than natural harmonics. Why? Because you need to achieve two things simultaneously—your left hand’s two fingers must be precisely positioned. Only with perfect intonation can you produce a clear harmonic sound.
🎯 How to Practice:
- Check the pitches below to ensure accuracy: Most artificial harmonics are a perfect fourth above the fundamental note. For example, you press down on a note with one finger, then use your pinky to lightly touch the note a fourth above—that’s where the artificial harmonic is created.

- Visualize it as an octave interval — but in this case, only spanning one string: This mental image can help you get the right feeling for it.
🎁 Bonus Benefits:
Practicing artificial harmonics also hones your intonation, double stops, and finger span awareness — perfect example of killing three birds with one stone!
Final Thoughts
Playing harmonics requires exceptional bow control—even more than regular notes. If you’ve ever watched Dragon Ball Z, you might remember how Goku trains under high gravity, and when he returns to normal conditions, his strength is far greater. Mastering harmonics is like training under high gravity—when you go back to playing regular notes, you’ll find your right hand technique will have improved tremendously.
🌟 Ready to Take Your Harmonics to the Next Level?
I’ve put together a list of pieces featuring beautiful harmonic passages, categorized by difficulty level—from Beginner to Legendary. Now start practicing your favorite harmonic excerpts on Tonic. Can’t wait to see your progress and hear your shimmering harmonics!
- Beginner: Natural harmonics on any string
- Apprentice: Monti Czardas (slow harmonic passage)
- Adept: Sarasate Navarra for 2 violins (figure 12), Tchaikovsky Violin Concerto (3rd Movement), Manuel de Falla 3. Canción, Scott Joplin The Entertainer, Ravel Tzigane (figure 7)
- Expert: Ravel Tzigane (figure 8), Sarasate Habanera
- Master: Sarasate Zapateado (first page, full tempo)
- Legendary: Paganini Violin Concerto (3rd Movement, double harmonic passage)
See you on Tonic!
Check the video for more details!
