🎻 Mastering Vibrato: Ray Chen’s Essential Tips
Struggling with vibrato? This step-by-step guide breaks it down into four practical exercises to help you develop a smooth, expressive vibrato—whether you’re just starting out or refining your technique.

Struggling to perfect your vibrato? You’re not alone. Vibrato is an essential technique that adds depth and expression to your playing. In this step-by-step guide, I break down the process into four clear and easy steps. Whether you’re a beginner or looking to refine your skills, these exercises will help you achieve a smooth, controlled vibrato.
Step 1: Loosen Up Your Wrist
One of the biggest challenges in mastering vibrato is overcoming stiffness in the wrist. To address this, start with a simple yet powerful exercise:
🖐️ Imagine you are bouncing a ball.
- Hold your left hand as if you are dribbling a basketball, but with your palm facing your face instead of the ground.
- Focus on the natural rebound of your hand, allowing it to move smoothly and effortlessly.
- The motion is also similar to fanning your face on a hot summer’s day.
- This exercise promotes flexibility and fluidity, which are essential for vibrato.
📝 Pro Tip:
Visualize your face as the ground and imagine bouncing the ball off it. As odd as it sounds, this mental image helps reinforce the relaxed, rhythmic motion needed for vibrato.
Step 2: The String Cleaning Method
Now, let’s bring that motion to the instrument—but without the bow for now.
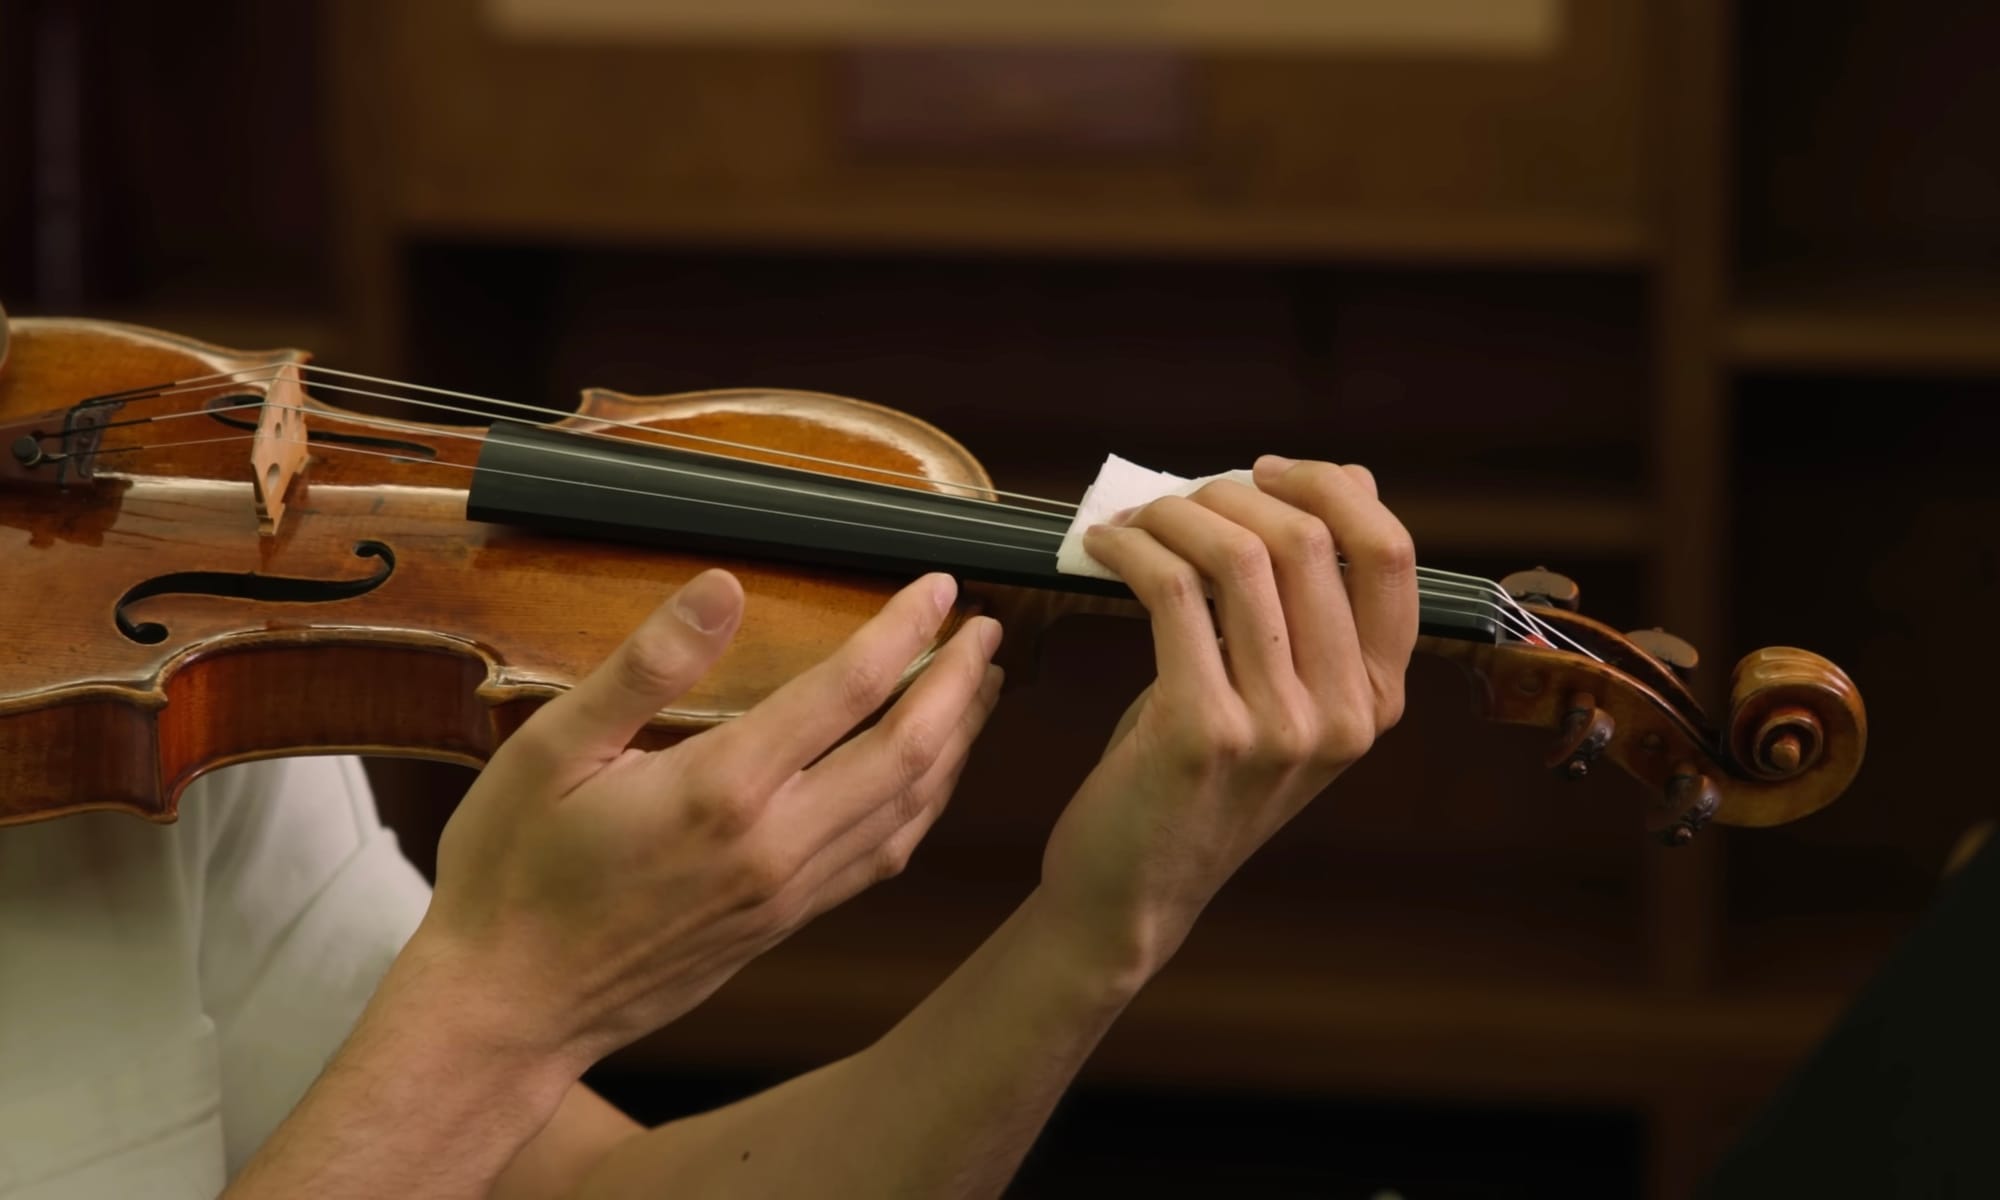
📄 Try this exercise:
- Take a soft cloth or a piece of smooth fabric (or just toilet paper!) and place it between your finger and the string.
- Position your hand in first or second position.
- Practice sliding your finger back and forth gently, maintaining the same fluid wrist motion.
P.S. I named this exercise the “String Cleaning Method” because the motion of your fingers sliding back and forth resembles the action of wiping down or cleaning the string.
🎵 Why this works:
The fabric reduces friction, allowing your fingers to glide effortlessly along the string. This helps you focus on the vibrato movement without the resistance of the string.
⏱ Practice Duration:
About 5 minutes of this exercise per practice session is enough to develop the right wrist motion and finger fluidity.
Consistency is key—repeat it daily for the best results, and the best place to do that is on Tonic!
- Join live practice sessions with musicians from around the world and experience how others practice.
- Track your progress and get real-time feedback.
- Participate in community challenges and events to stay motivated and earn rewards.
🌐 Download Tonic and join me in perfecting your vibrato and other techniques! Your next breakthrough is just a session away.
Step 3: Sticky Fingers Exercise
Once you are comfortable with the wrist motion, it’s time to remove the fabric and focus on the individual fingers.
✋ How to practice:
- Choose a finger—ideally the first or second finger.
- Gently press it on the string without forcing it down.
- Focus on the rotation of the tip of the finger against the string.
- Continue the back-and-forth vibrato motion of the hand, focusing on maintaining fluidity.
🔄 Rotate through each finger:
- Practice the same motion with all four fingers in various positions.
- This helps develop strength and independence in each finger, leading to more controlled vibrato.
💡 Pro Tip:
Avoid pressing too hard. Vibrato is about movement, not force. Light pressure allows for greater flexibility and a more expressive sound.
Another tip is if your pinky feels too weak in the beginning (don’t worry, this is normal!) you can support it by leaning it against your third finger. This works especially well for trills.
Step 4: Adding the Bow — The Rivarde Exercise
Now that you have mastered the motion, it’s time to integrate the bow and bring your vibrato to life.
🎵 How to practice:
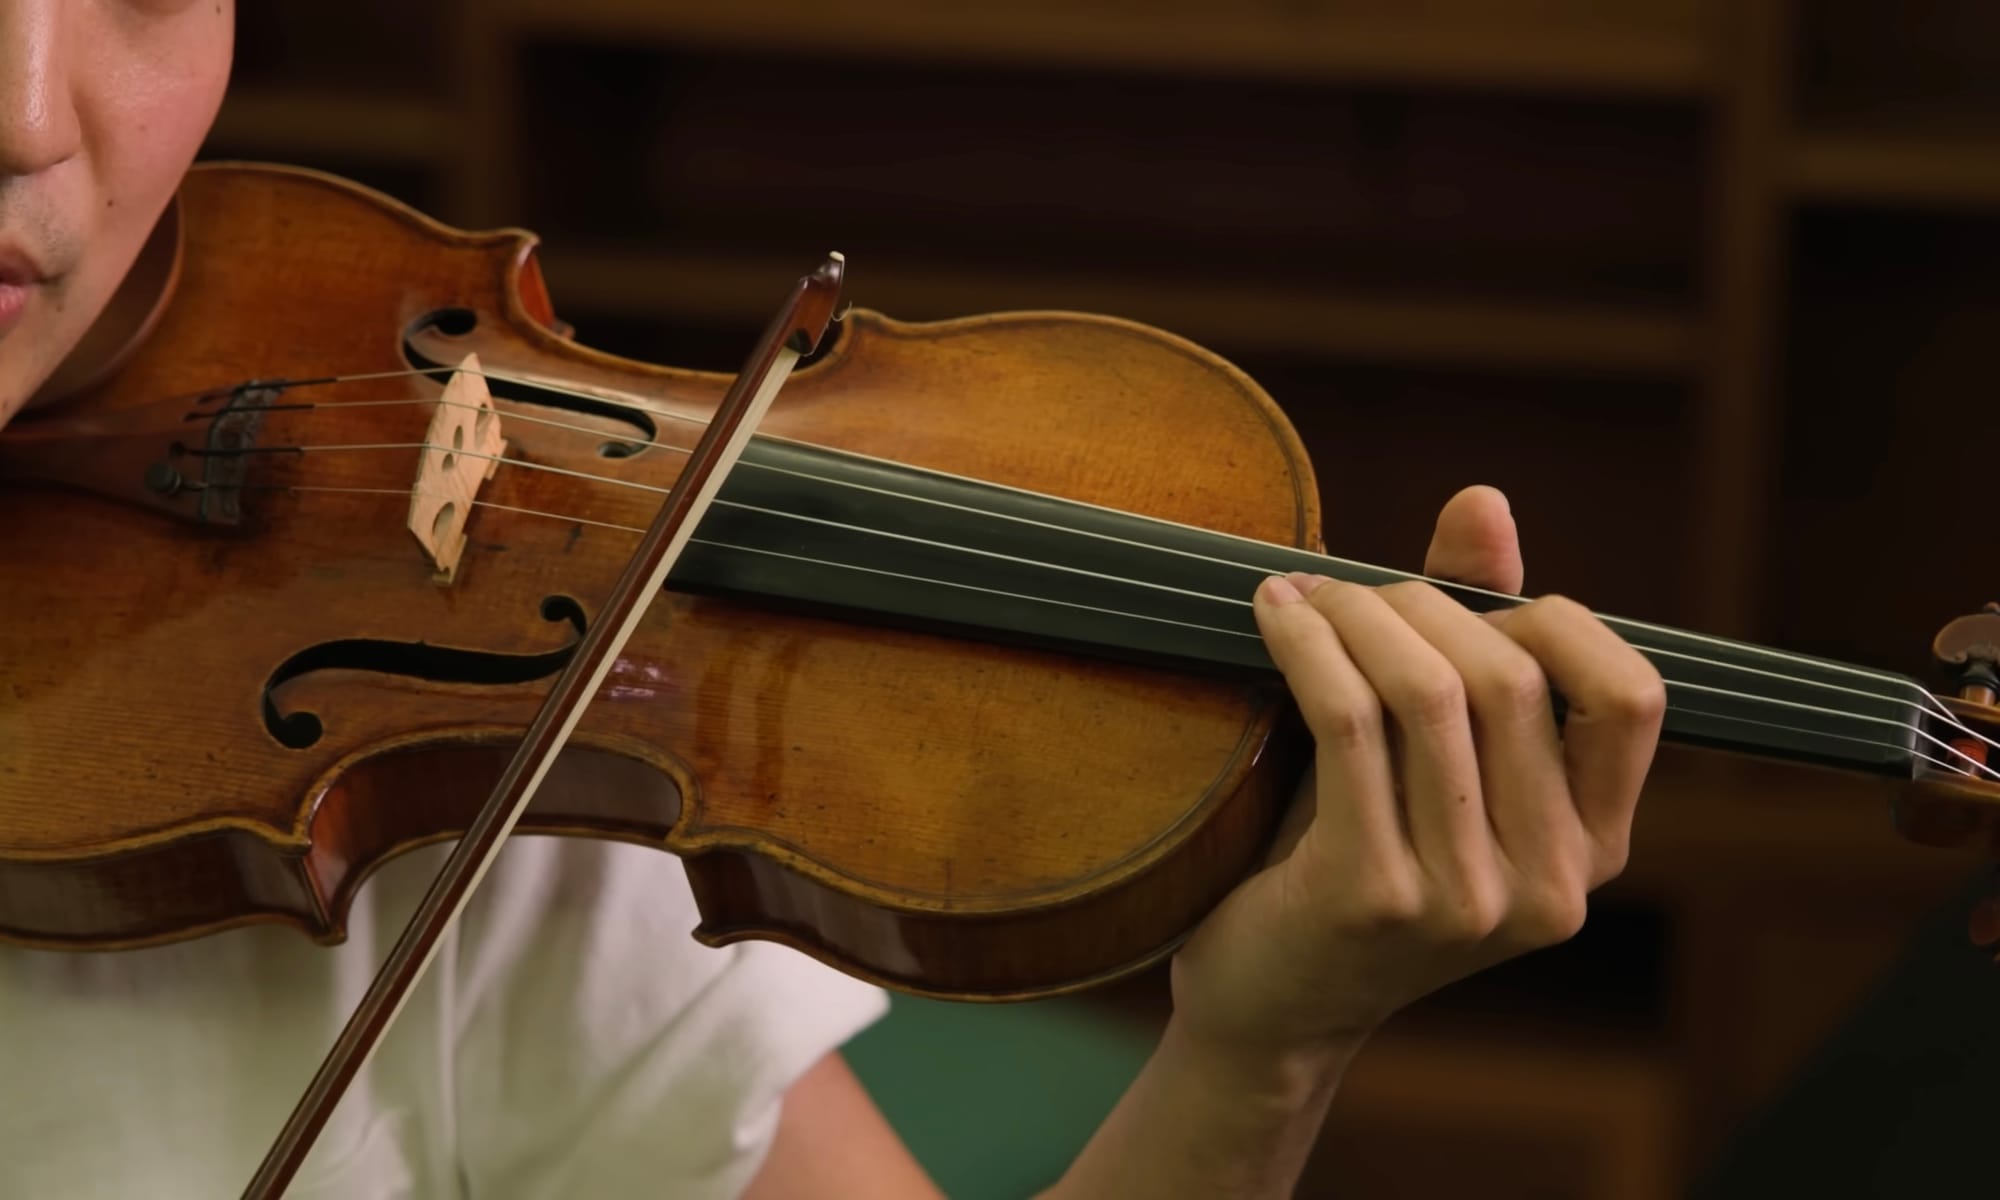
- Begin in third position, where your hand rests comfortably on the violin’s shoulder.
- Lightly press the string and initiate the vibrato motion while drawing the bow smoothly.
- Focus on maintaining the oscillating motion, ensuring that the vibrato is even and controlled.
📝 Pro Tip:
- You may support your third finger with your second finger for added stability.
- Pay attention to the intonation—the vibrato should oscillate slightly below the pitch, rather than above it.
🎯 Practice with a Metronome:
Start with a slow tempo: click, click, click. Gradually increase the speed while maintaining the same evenness in your wrist motion. You can also experiment with triplets or faster rhythms as you progress.
Final Thoughts
- Vibrato is all about patience and consistency.
- Follow these steps daily to build confidence and control.
- If you want to learn more tips and share your journey, Tonic is where you want to be!
Check the video for more details!